


Specification
- Measurement Accuracy: 1% plus or minus 2 words
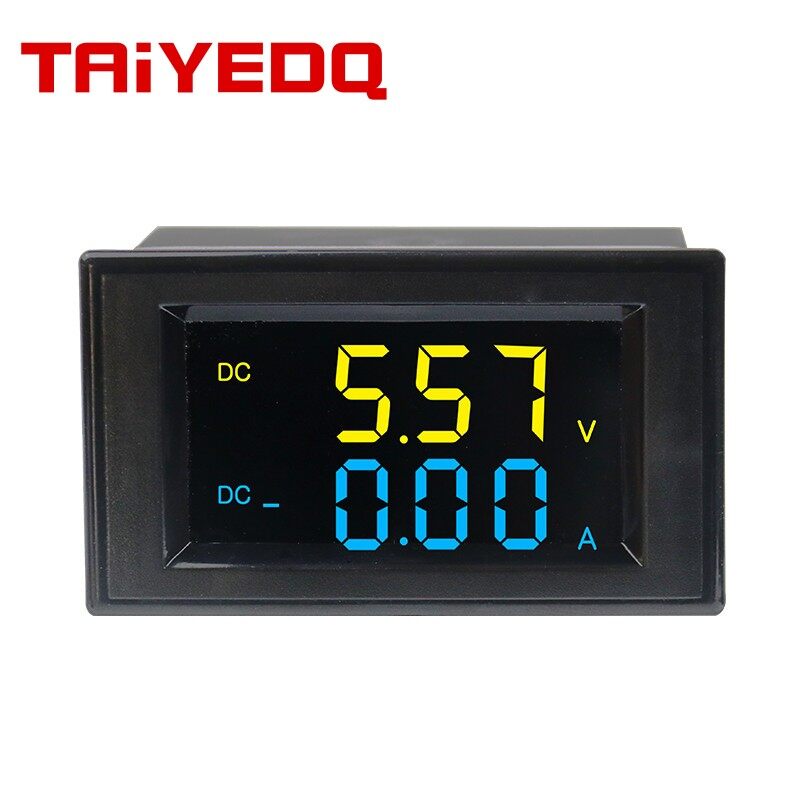
- Display: LCD high-definition liquid crystal color two-color display
- Viewable Screen Size: 43*25mm
- 178° wide viewing angle (no blind spots for viewing)
- Measuring Range:
- DC Voltage: (1) DC0-19.99V, 0-199.9V, 0-600V (need to provide an additional operating power between 5-30V) (2) Measure the voltage between DC5-30V (measurement voltage can be As the working power supply of the meter, the meter does not need to increase the working power supply, but the measurement voltage can only be measured from 5V, and it cannot be measured below 5V.
- If you need to start the test from 0V or the measurement voltage is higher than 30V, you must add a set of 5-30V working power supply, please pay attention to this point when using it!
- Direct Current: DC0-1.999A, 0-10.00A, 20A/75mV, 50A/75mV 100A/75mV, 200A/75mV...
- Power Consumption: ﹤0.5VA
- Measuring Speed: about 2 times per second
- Dimensions: 70*40*39mm
- Installation Size: 68*38mm
- Extreme Working Conditions:
- Working Temperature: -10~+50℃
- Working Humidity: 10~80%
- Working Pressure: 80~106kPa
Notes
Customers order instruments within the current measurement range of 10A (including 10A). The meter has a built-in shunt, and the customer does not need an external shunt when using it. If the meter purchased by the customer has a measuring range above 10A, there is no shunt inside the meter, and the customer needs to purchase another shunt with the same specifications as the measuring range of the meter.
For example: if the current measurement range of the purchased meter is 0-50A, then another shunt with a specification of 50/75mV must be purchased, and regardless of the measured current is greater than or less than 10A, it must be connected to the purchased shunt for use!
When wiring, the user must strictly follow the wiring sequence corresponding to the wiring diagram (attached with the wiring diagram). The shunt must be connected to the negative pole of the power supply, and the load to be measured must be connected to the positive end of the power supply. The wiring instrument shown in the wiring diagram will be burned (scrapped)! Once burned, we do not deal with after-sales!